by Ed Bailey, Garden Designer and Principal Landscaper, Rewild Garden Design
21st June, 2022
Part 2 – Water
When I design gardens I always like to start with the water, in many “rewilded” gardens it’s the water that can give the garden a sense of cohesiveness and a focal point around which the rest of the garden can hinge. This is purely a personal choice and works for my design process but I’m sure people will have their own preferences.
Therefore, I am going to start with how to design the pond within the garden, there are a million and one “how to” articles and videos online with regards to the practical side of this but how do you actually decide on the shape and size?
Size
Don’t be shy, a big pond can give your garden a real wow factor and their value to wildlife is colossal so don’t hold back, if you can go big, then go big! That said, if you only have space for a pond in a bucket then that too has value for wildlife.
Shape and position
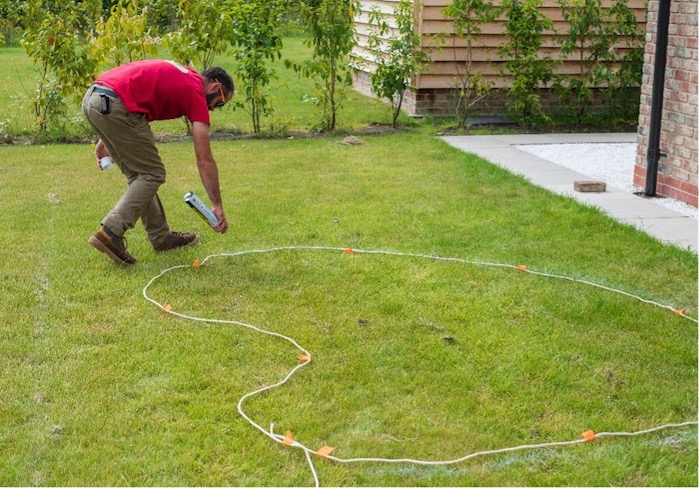
Get creative, we use 50m of rope marked at 1m intervals, lay it down on the ground and then start playing about with shapes until we get something we like and our clients are happy with. Occasionally we get asked to create formal wildlife ponds, which is possible but a lot trickier because a lot of the elements we take for granted in a natural pond, beaches, variation in depth and height of planting, irregular margins have to be carefully integrated into the design without spoiling the formal aesthetic.
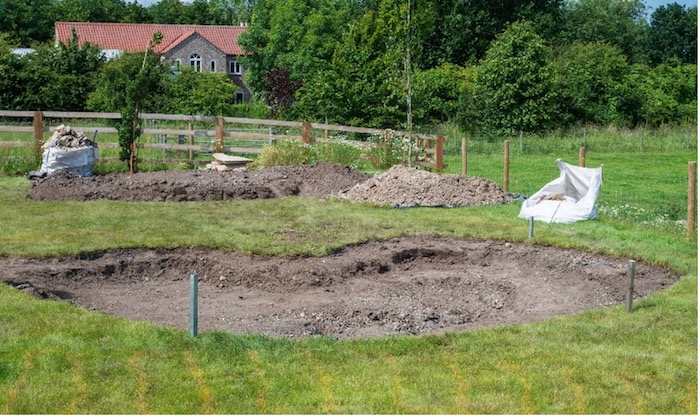
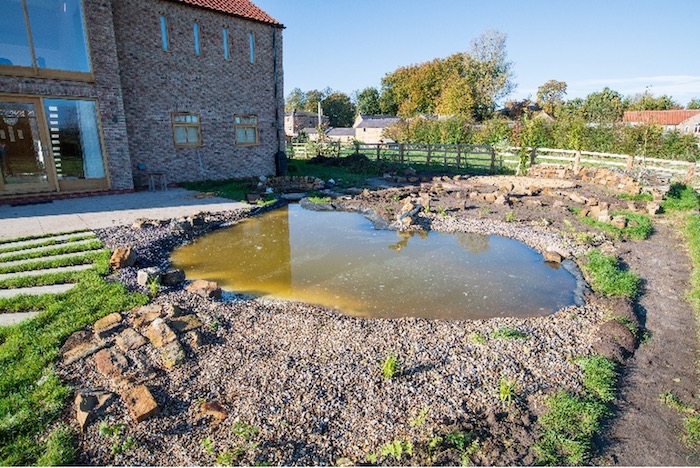
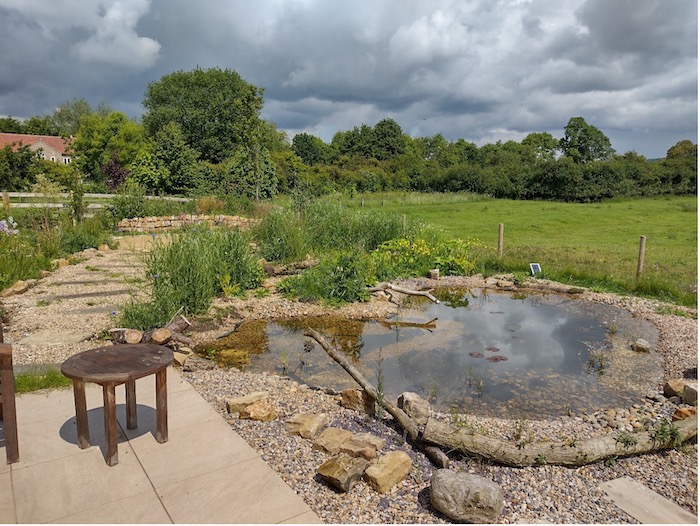
In Fangfoss, the garden which I am using as a case study, we have opted for a large central pond (approx. 8m x 8m) fed by a stream from a smaller pond, this is then surrounded by 3 ephemeral areas (more on them later in a later article). At the southern end of the garden, we have included another small pond (approx. 3m x 3m) with another ephemeral area.
When we rewild a garden one of the main goals is to restore the natural processes that are so integral to the lifecycles of our native flora and fauna and therefore variety is very valuable. In the design for the garden in Fangfoss we aimed to create ponds with sun, shade, deep water, shallow water, flowing water and a lot of marginal planting space. These marginals will create different microhabitats – one of the ponds will have grass and planting right to its edge, the other will be a mix of gravel, larger rocks, deadwood and planting.
Depth
Most of the ponds we create range in depth between 0-5cm down to a 1.5m, it is important to have this deeper section partly to ensure it has water in it during drier spells, but also to provide a nutrient sink for any detritus that falls into the pond. Deeper water has a higher percentage oxygen saturation which is vital for overwintering invertebrates and amphibians which may remain in this zone when the ponds surface has frozen over. But don’t worry you don’t have to dig the whole pond out to this, we usually have in the region of 60-70% of the pond between 0 and 60cm depth because at these depths there is the greatest amount of activity and planting.
Lining
If you are lucky enough to have heavy clay then you could puddle the clay to create a natural pond liner (this is extremely hard work without extra help or some machinery), the alternative is to use a high-quality pond liner (butyl rubber, EDPM etc).
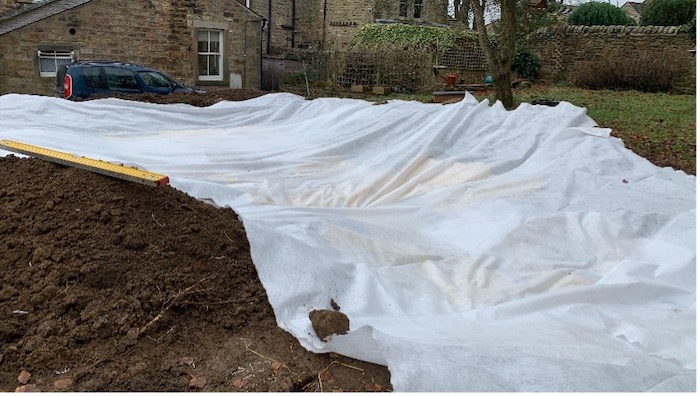

In Fangfoss we opted for a pond liner as the ground and soil conditions meant that a puddled pond would not be possible without importing a huge amount of soil. The liner then had a layer of 10mm pea gravel laid over the top, ideally this would be subsoil from the pond excavations, however in the case of this garden, the subsoil had a huge amount of rubble and other waste materials mixed in.
Tap water or rain?
If you absolutely must then you can fill a pond with tap water but make sure you leave it for a couple of weeks before you plant it up, however if you manage to be patient then let the rain do the work, your pond and local flora and fauna will thank you for it.
Planting
Possibly a contentious issue! If you are creating a large natural pond in a non-garden setting then generally, I’d say don’t bother, let it happen naturally. The purists and almost certainly groups like the brilliant Fresh Water Habitats Trust will agree with this and in many ways I’m with them. In the long term you will get a far healthier and better-balanced ecosystem overall if everything can find its own way to your pond (flora and fauna) via natural processes……
But if it’s in your garden then you probably don’t want to stare at a large stagnant puddle for the first 2 years! If you’re in an urban setting or you don’t have any pristine wildlife ponds nearby then waiting for natural colonization may not be an option anyway.
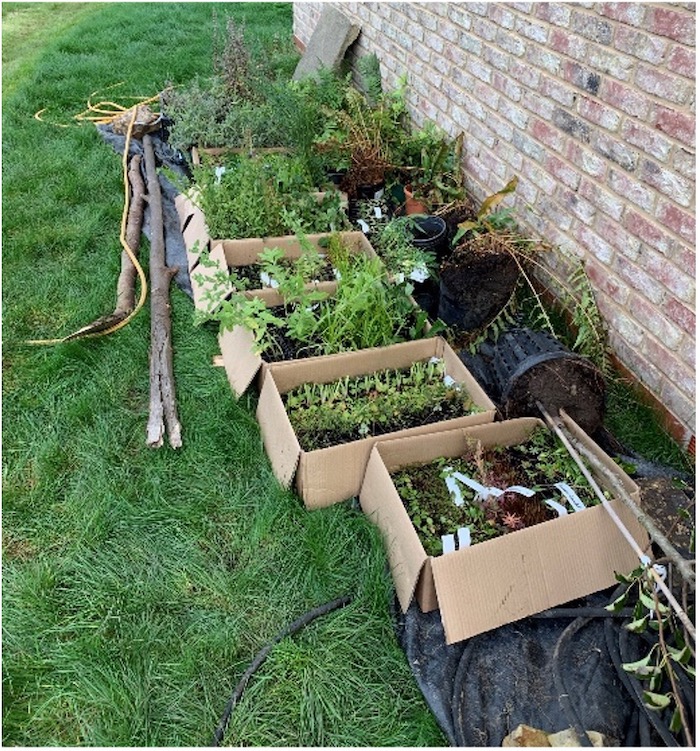
The majority of ponds we build are also planted by us and we look to create a mosaic of native plants in and around the pond. The key here is firstly, getting your pond and marginal plants from a reputable supplier and, secondly, a good knowledge of the growing conditions.
Is your surrounding soil dry, sandy and fast draining? If so then you probably don’t want to plant a selection of bog plants along the margins, in this situation we may look to sow a native seed mix suited to these soils right up to the edge of the pond.
Is the pond in sunlight all day or are sections shaded? Overhanging trees and buildings casting shade can and will make a big difference to the planting selection, a tree may also shed leaves into the pond, which is good for the surrounding soil, but could lead to nutrient problems if there is insufficient planting in the pond itself.
There’s a myriad of scenarios that will impact on how you choose to plant your pond up but there are some basics that help out a lot.
- Look back at your design research, soil type, aspect, slope, water depth etc all of these will tell you if your pond is the right place for these plants.
- If in doubt ask. It’s a lot easier and less disruptive, not to mention cheaper, to plant a pond up correctly the first time round than it is to have to pull a load of plants or discover that your brand-new wildlife pond is full of Elodea crispa or Myriophyllum aquaticum 6 months after planting and have to do it all again!
- Plant your margins with plug plants. Most good native plant nurseries will sell plug plants to retail customers for between £1 and £2.50 per plant. Not only are these more environmentally friendly (less compost/ plastic/ energy input from the grower), it works out a lot more wallet friendly than buying pot grown plants at between £5 and £15 each.
- Mulch!!!!! Not only will this give your wonderful selection of brand-new baby plug plants a great start in life, it’ll also help stabilise the edges of your pond reducing the loss of soil into the water and it’ll help cover the edges of that pond liner.
[Images: Ed Bailey]